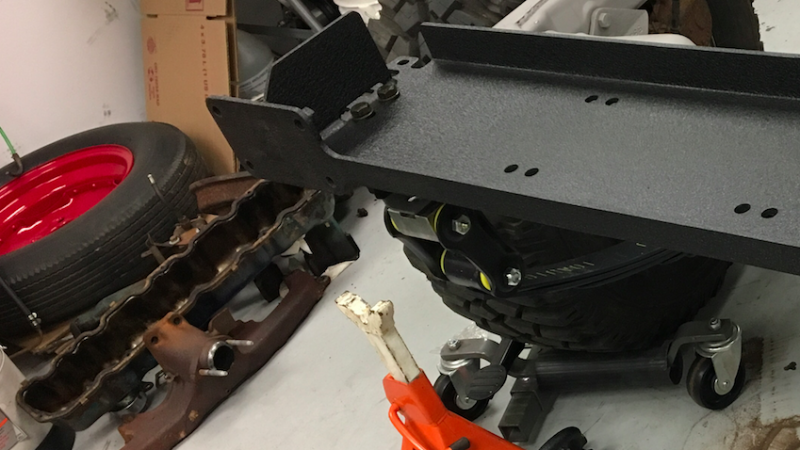
Installing the Steering Box Mount

Installing the M.O.R.E (Instagram Account) heavy duty steering box mount
Read more about 'Installing the Steering Box Mount'...
Fitting the front & rear bumpers.
Fitting the front & rear bumpers. Only required a little bit of modification to fit the new spring hangers. All holes drilled and bumpers are mounted and mocked up in the correct position. As the bumpers come from OMIX-ADA they are a direct bolt on for a most applications. Because we have larger spring hangers we needed to clearance a bit. And we got to use our favorite spark creator and grind away as needed. Of course the bare metal will be prepped and coated with out 3 step system so it'll be well protected. Definitely going to make this CJ look tough!!
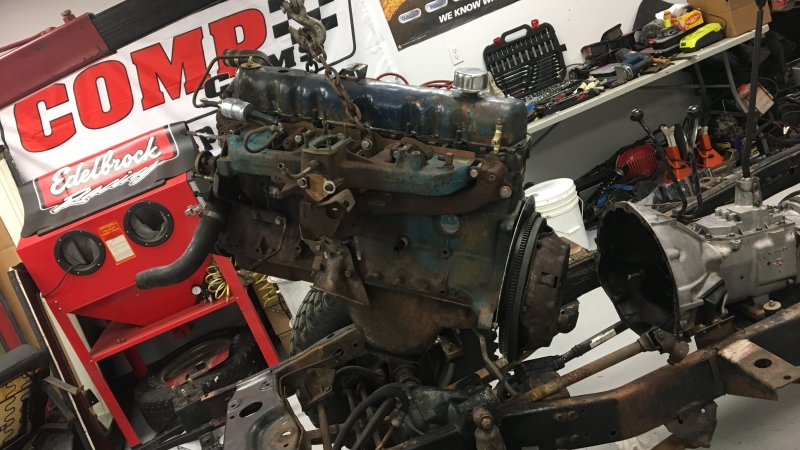
Engine Disassembly
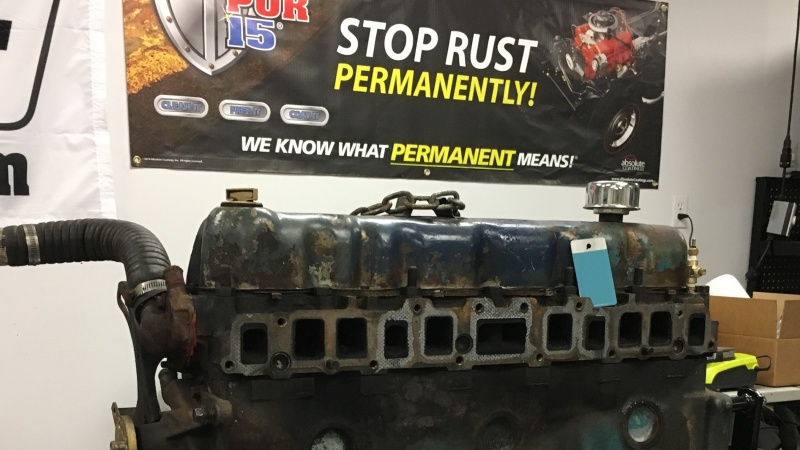
After the engine and transmission were removed from the frame the engine was bolted to a stand and the disassembly began. First the head was removed then the engine was spun over to remove the crankshaft, pistons and rods. Now it's down to a bare block and it's off to the engine shop to be cleaned and checked out.
Engine and transmission out!
Hoisting the engine and transmission out. Working to get to a bare frame for blasting.